Optima AUC Cell Assembly Tutorial
文稿
This video outlines the process for assembling an analytical cell with a two sector EPON centerpiece used for sedimentation velocity experiments. Other assemblies may require slightly different components and procedures. Please refer to the appropriate instructions for use when assembling other configurations.
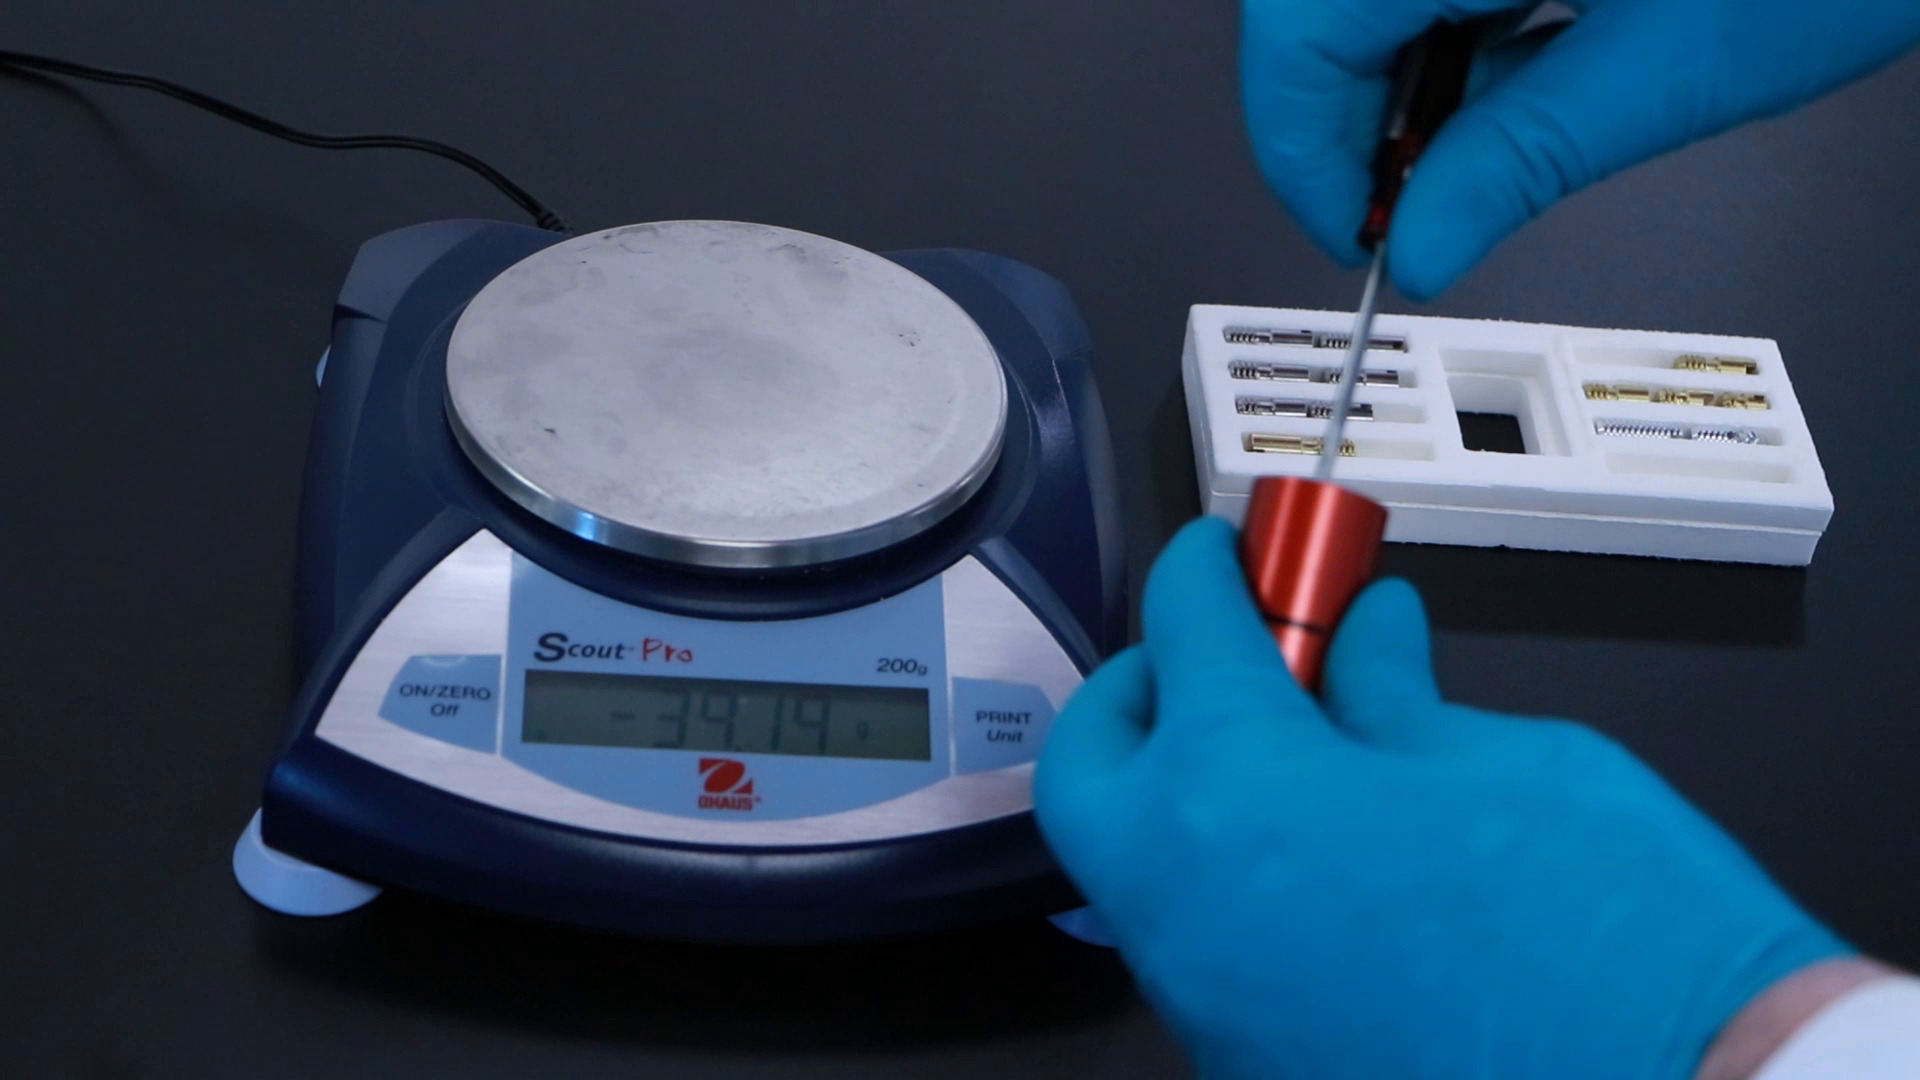
Begin with clean and prepared components as described in the cell preparation video.
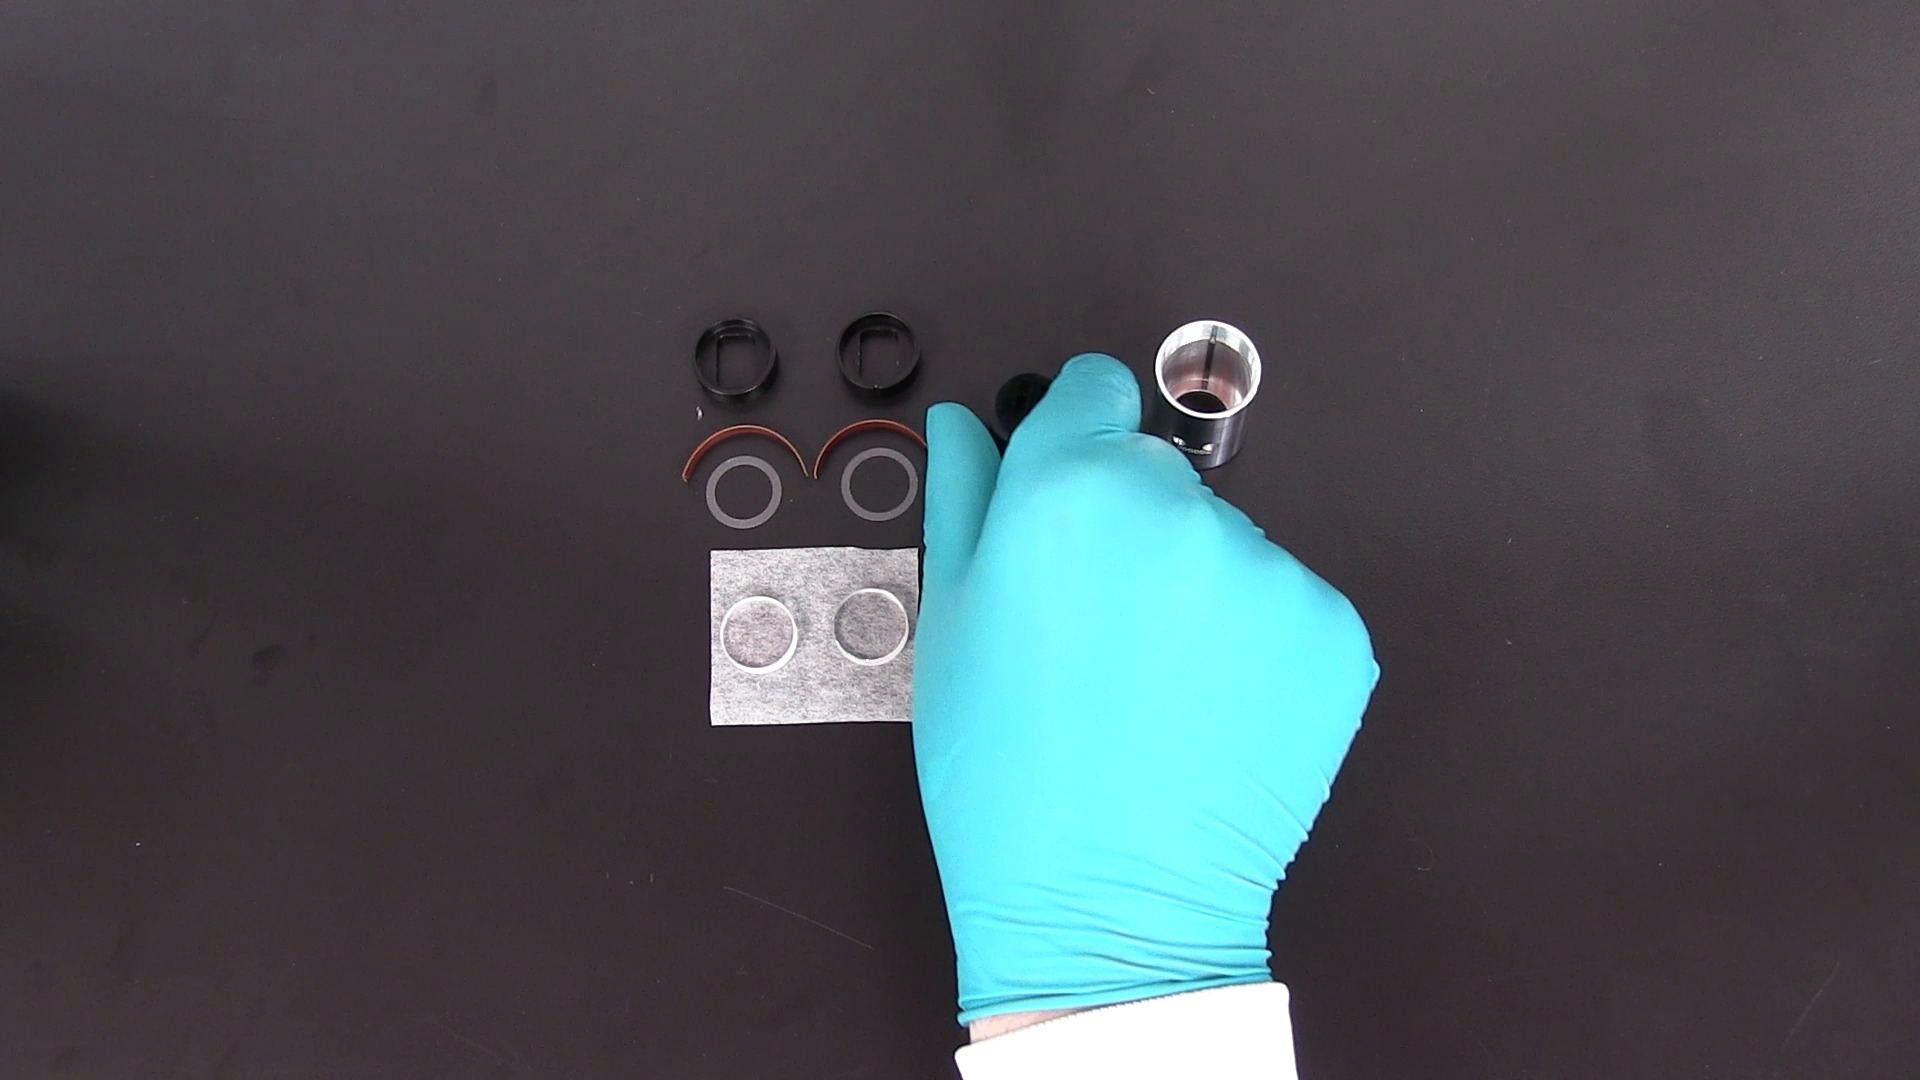
First, place a window gasket in the window holder, followed by a liner with the gap opposite the keyway of the window holder.
Carefully insert the window into the holder at a slight angle with the etched arrow facing down, aligning the scribe mark on the window with the keyway. Be careful not to touch the window faces. Repeat this process to prepare a second window assembly.
With the keyways aligned, first place one window assembly, window up, into the housing and let it gently drop.
Similarly, insert the centerpiece.
Followed by the second window assembly with the window facing down. Be sure not to touch the window faces during assembly.
Place a lubricated washer into the housing on top of the window holder.
With the inscription out facing up, orient the lubricated screw ring and begin finger tightening.
Then use the cell aligning tool to further screw in the ring. Final tightening to create a liquid tight seal will be completed using the torque stand. Raise the tensioning lever of the torque stand to the vertical position and place the cell housing in the collet with the screw ring up. Push the cell down until the top is flush with the top edge of the collet. Pull the tensioning lever to lock the cell in place and prevent it from rotating when the screw ring is tightened. Then lower the vertical rod key into the notch of the screw ring. Using a torque wrench, tighten the screw ring to one hundred and twenty inch pounds.
Raise the vertical rod and place your hand on top of the cell while lifting the tensioning lever to release and remove the cell from the torque stand. Repeat these steps to prepare the required number of cell assemblies before proceeding with sample loading as demonstrated in another video. With your assembled cell in hand, you can now proceed with loading the samples and rotor.