Optima AUC Cell Loading Tutorial
文稿
This video will walk you through loading a sample into an assembled AUC cell and loading the cell into the centrifuge.
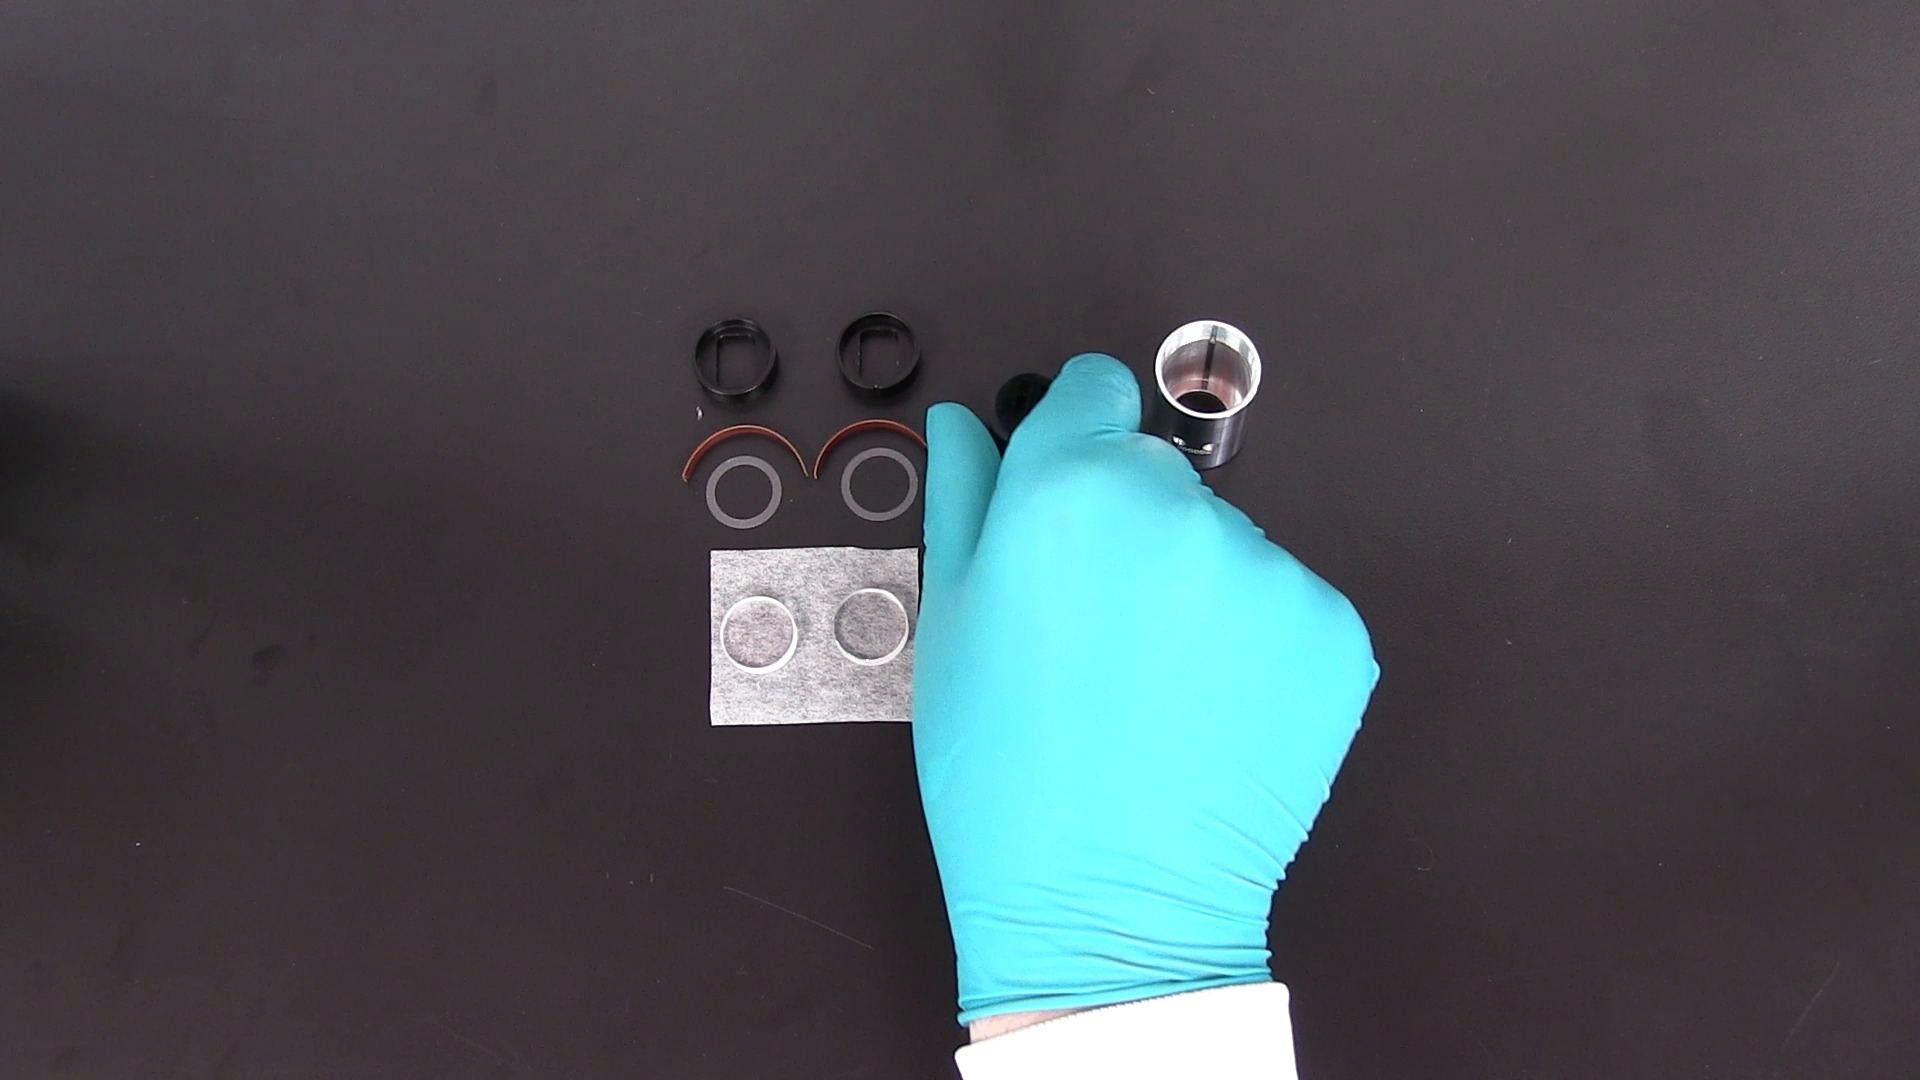
Hold the torque cell horizontally with the filling holes face up and the screw ring facing toward you. Fill the left sector with, for example, four hundred and twenty microliters for reference solution using a pipette and microcapillary tip or a syringe and flexible needle. Be especially careful not to scratch the centerpiece or windows. Then load an equivalent or slightly lower volume of sample, for example, four hundred and ten microliters in the right sector so that the sample meniscus is easily recognized.
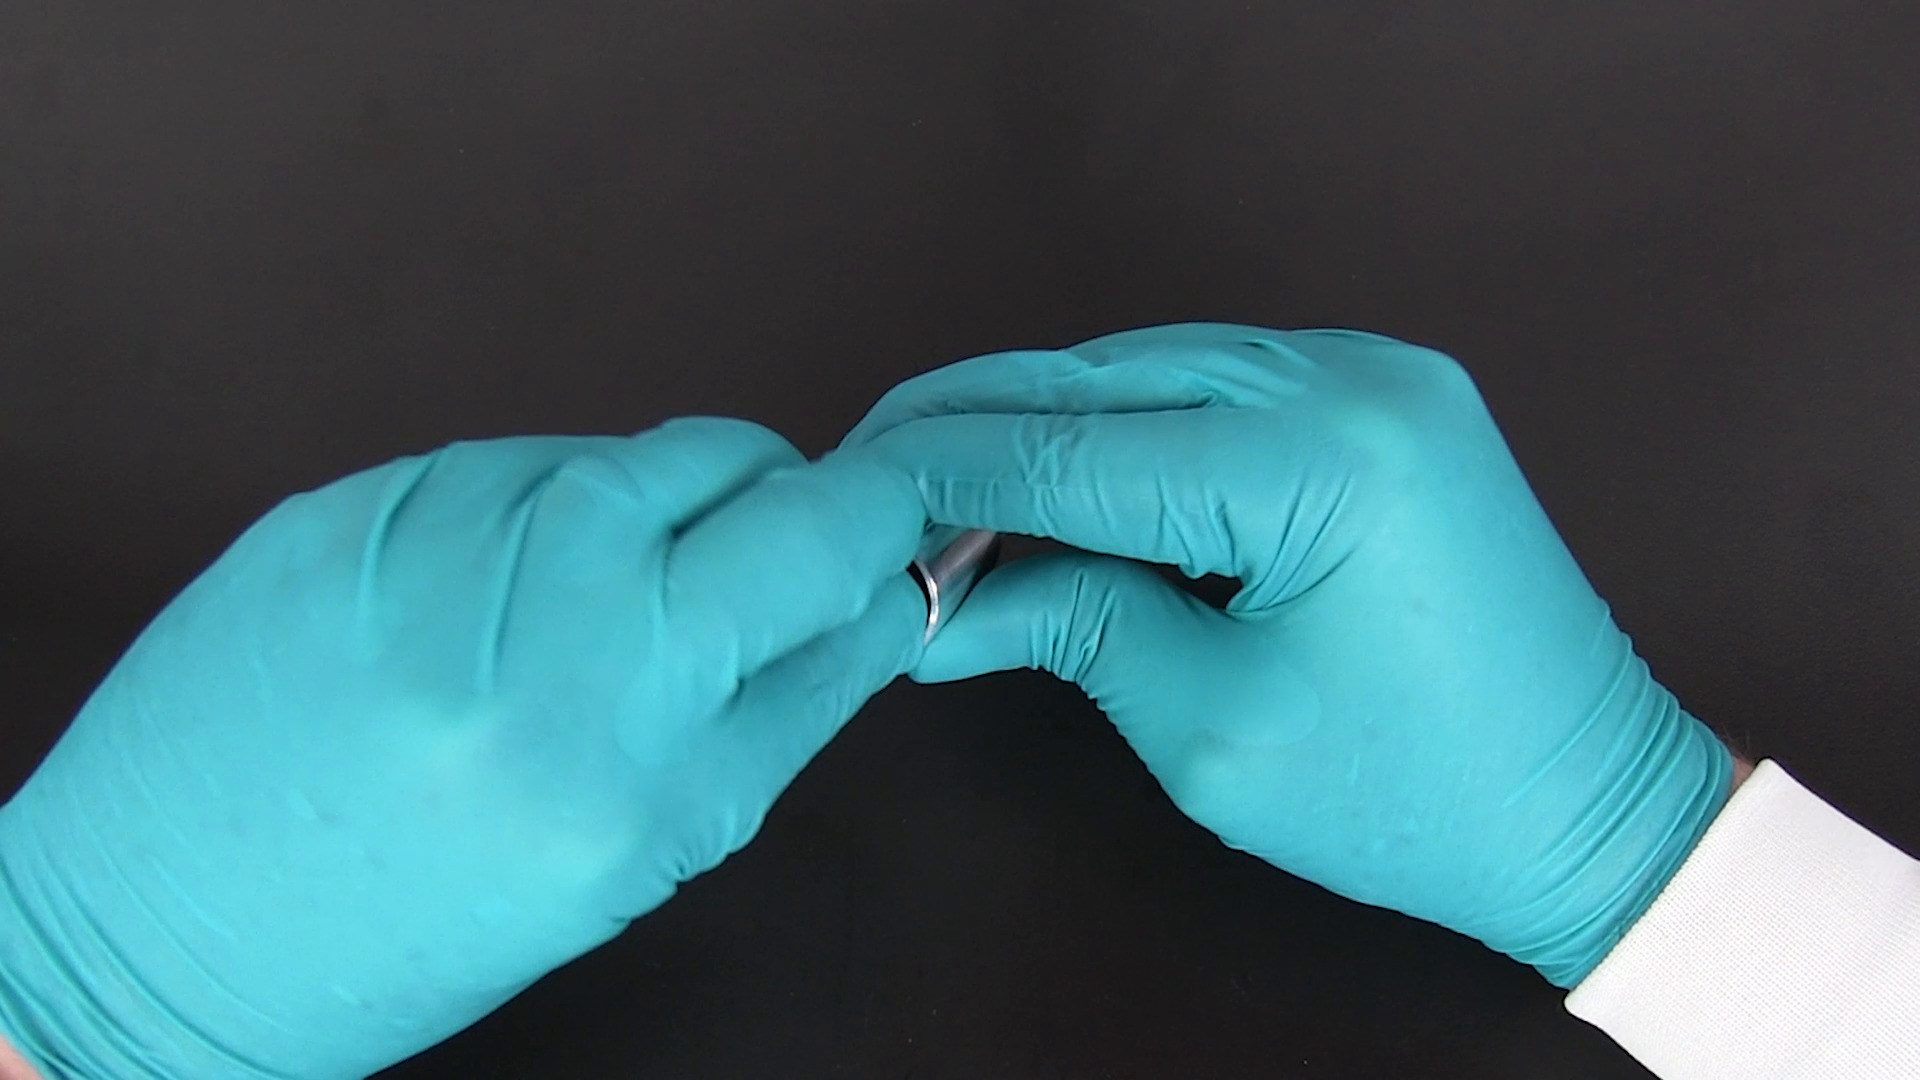
Place a new plug gasket in each fill opening. It may be necessary to use a second gasket in each opening to ensure a proper seal. Then, position a housing plug on each threaded opening, and hand tighten the plugs with a flat head screwdriver until flush with the housing.
Next, prepare a counterbalance for the filled assembled cell. Tear the balance with the cell on the scale. Replace the assembled cell with the counterbalance and screw appropriate weights into the threaded hole at the top of the counterbalance so that the counterbalance weighs within point five grams of the assembled cell. Verify the counterbalance is within point five grams of the opposing cell. All additional opposing loads must also be within point five grams.
In preparation of loading the rotor, check the overspeed disc on the rotor underside for scratches and damage. Load the counterbalance into the desired analytical rotor with the arrow pointing away from the center of the rotor. That would be hole four for the AN-60 Ti or hole eight for the AN-50 Ti. Load the assembled cell into the opposing rotor hole with filling holes toward the center of the rotor, and similarly add any additional cells as opposing pairs. Unused holes may be left empty as long as rotor balance is maintained.
With the rotor on its side, use the cell alignment tool to rotate the cells and a counterbalance so that the scribe marks align with the rotor. Open the AUC door and remove the lid, then carefully lower the rotor straight down onto the drive shaft.
Rotate the absorbance and or interference optics modules into position, replace the lid, and slide the instrument door closed. The remainder of the experimental setup will be operated via the instrument software.